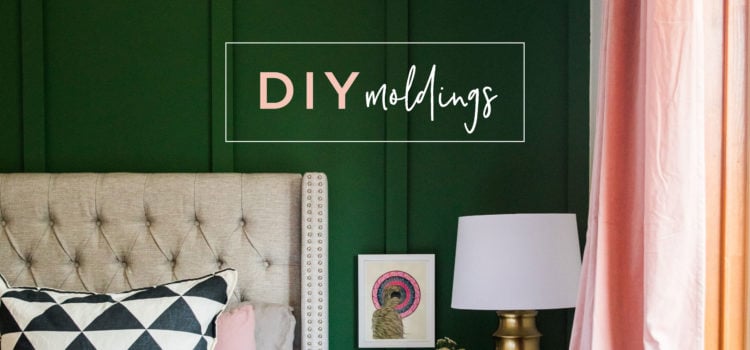
Are you ready to Elevate Your Space?
As seen in the latest issue of NEST Magazine, by using common 1″ x 3″ boards, you can create your own custom DIY moldings.
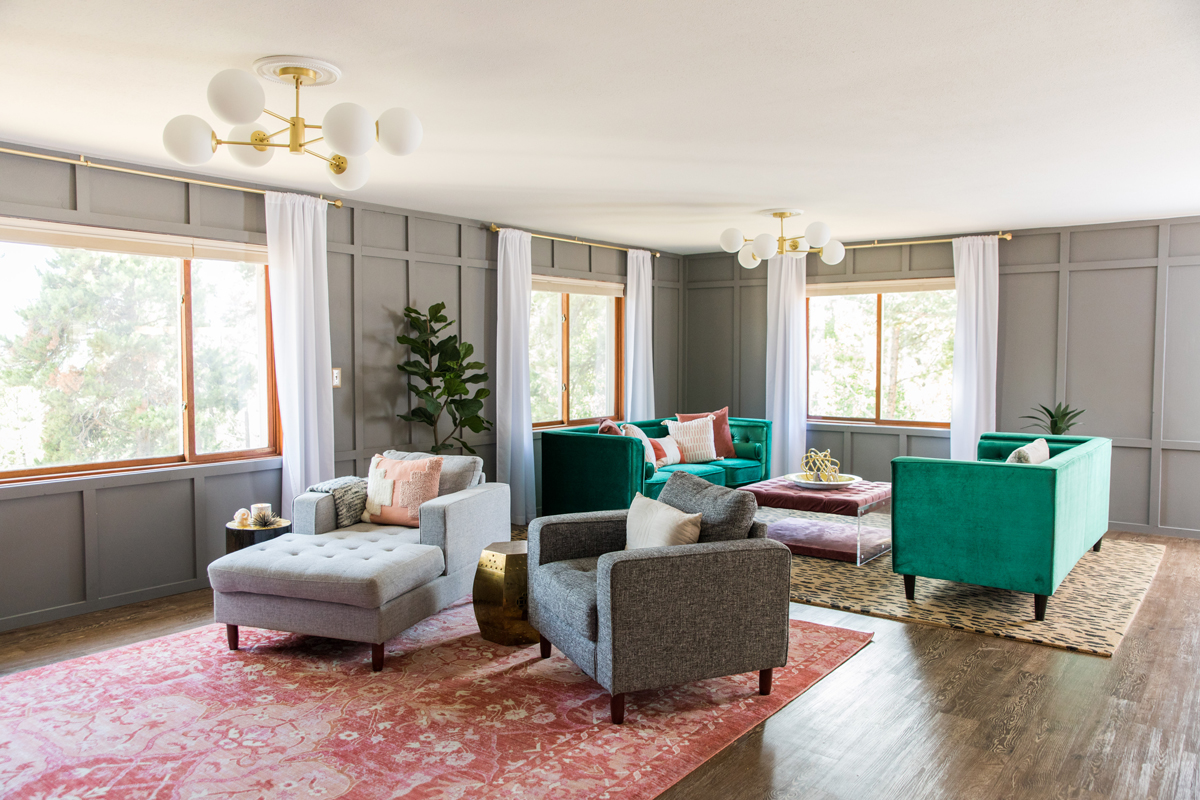
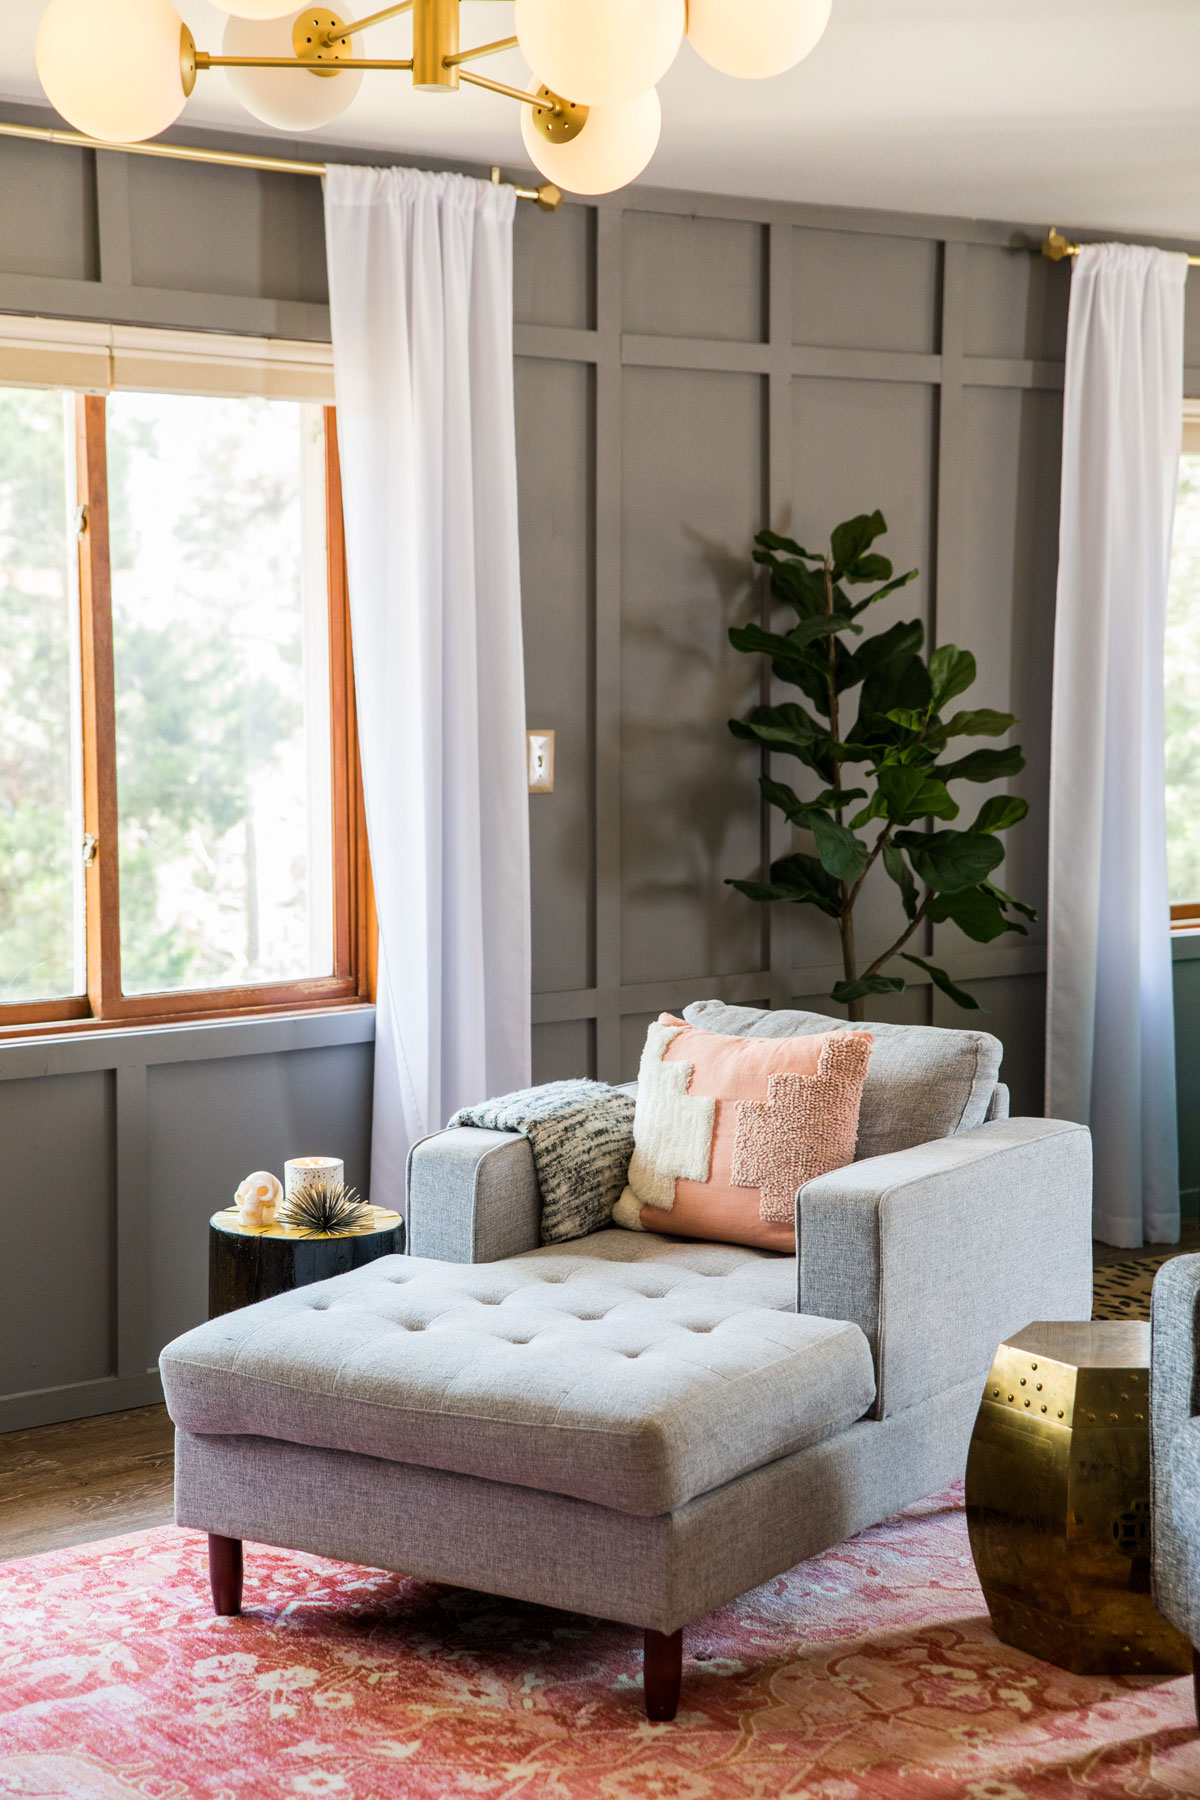
This space went from drab to fab by removing walls, installing affordable luxury vinyl flooring, swapping out the light fixtures, and most importantly installing DIY moldings.
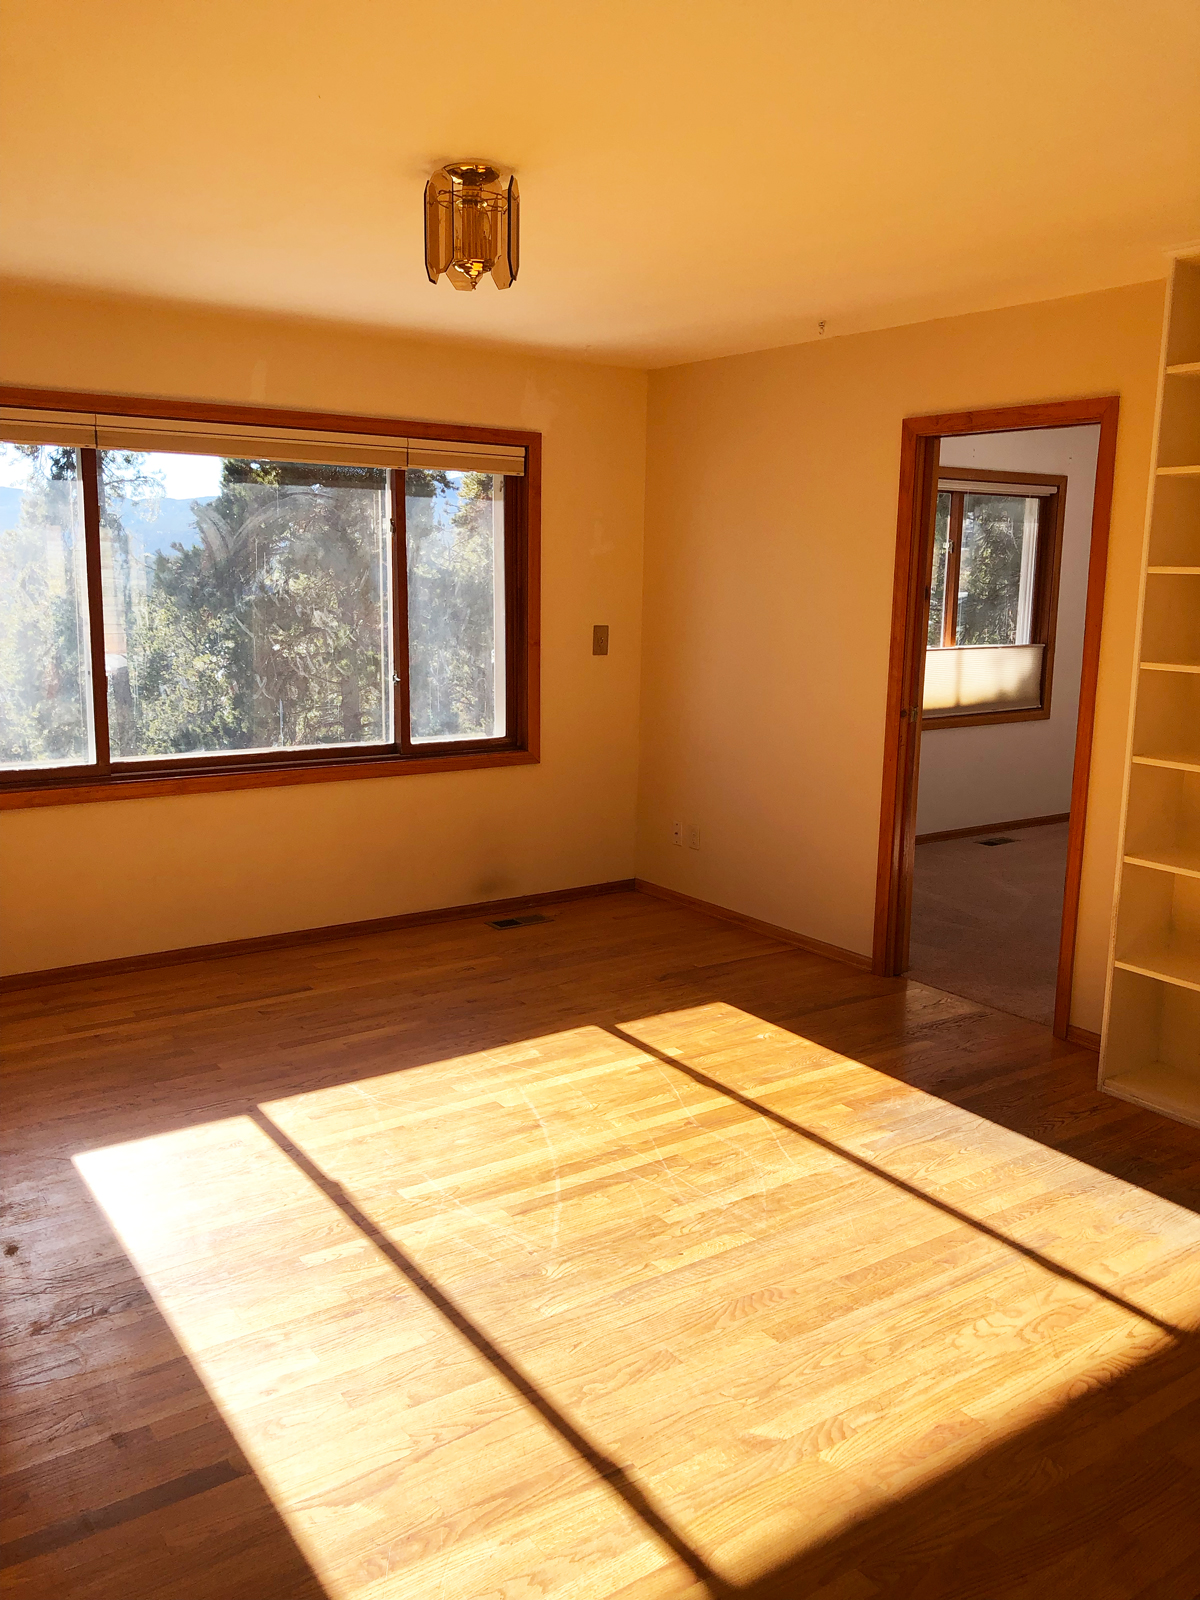
BEFORE:
AFTER:
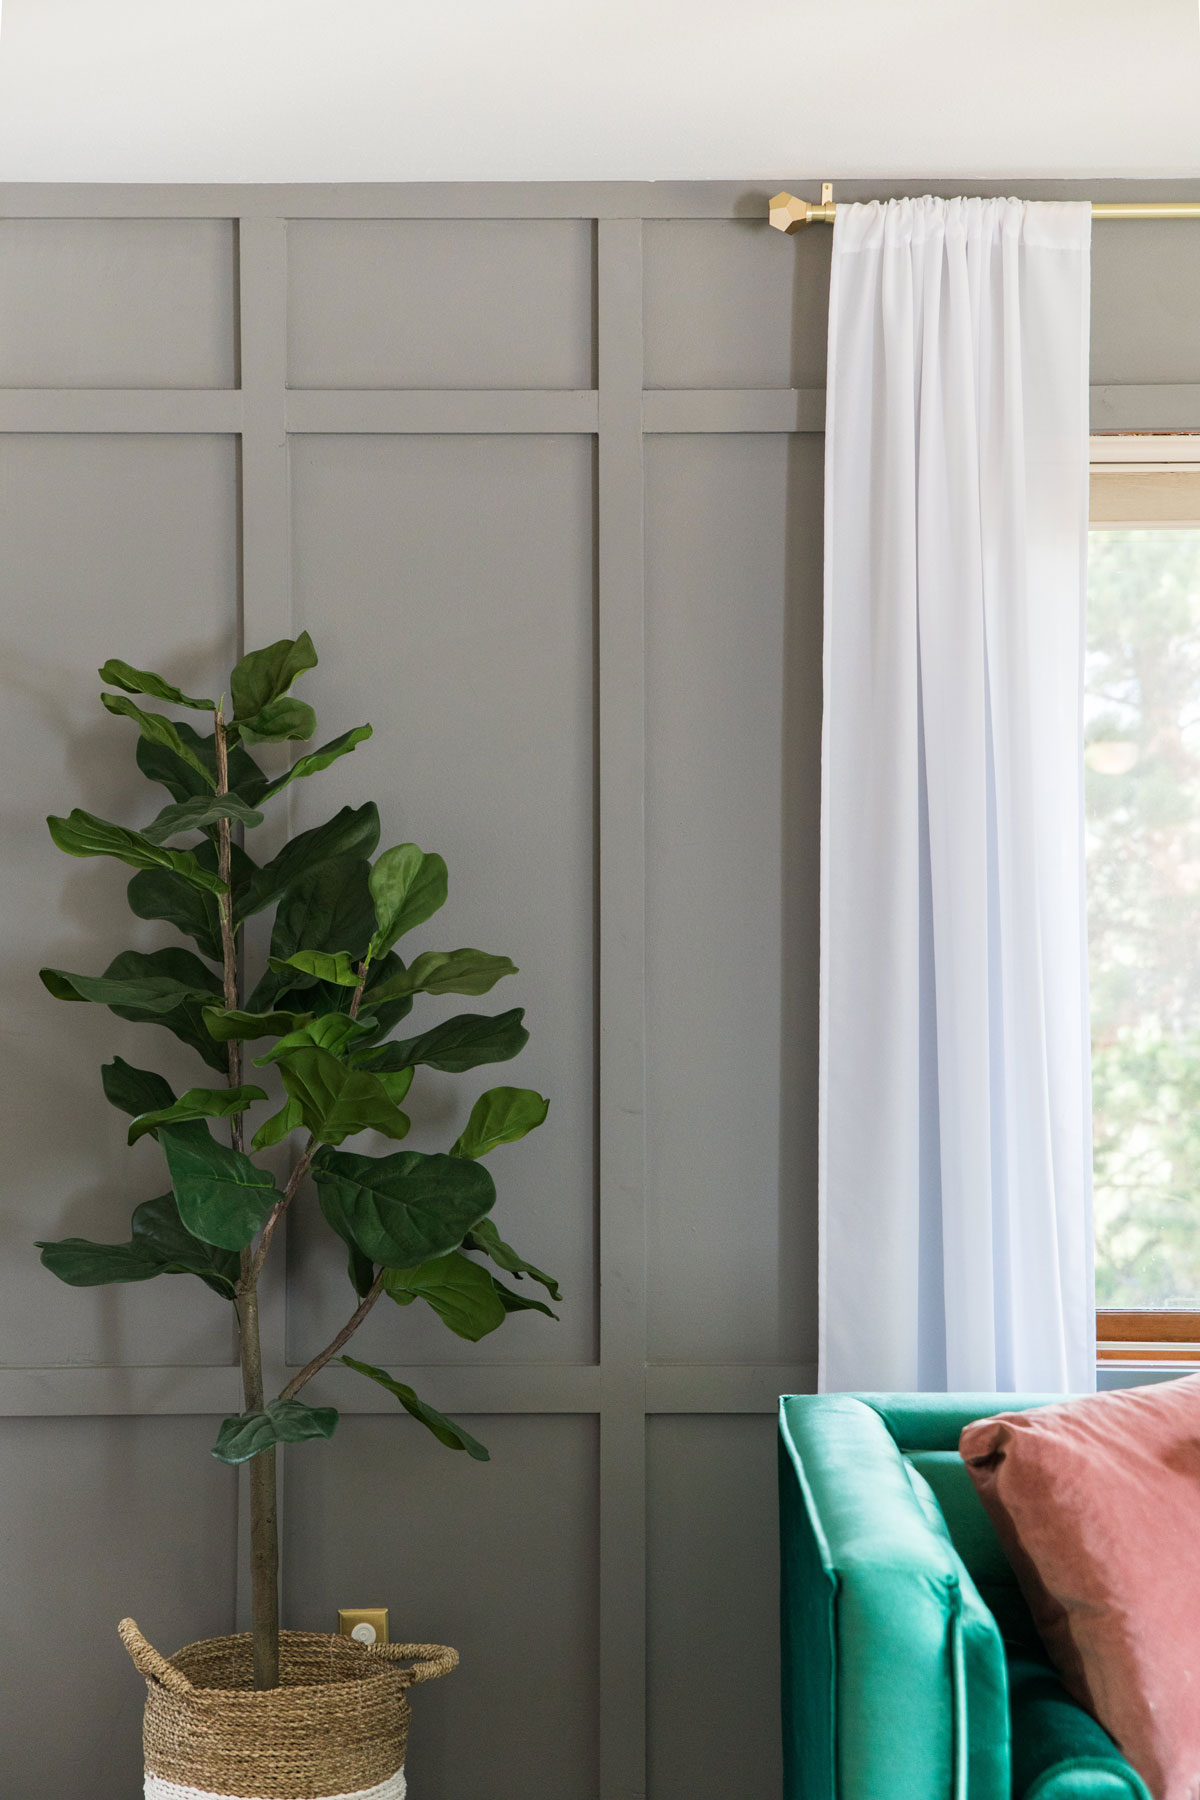
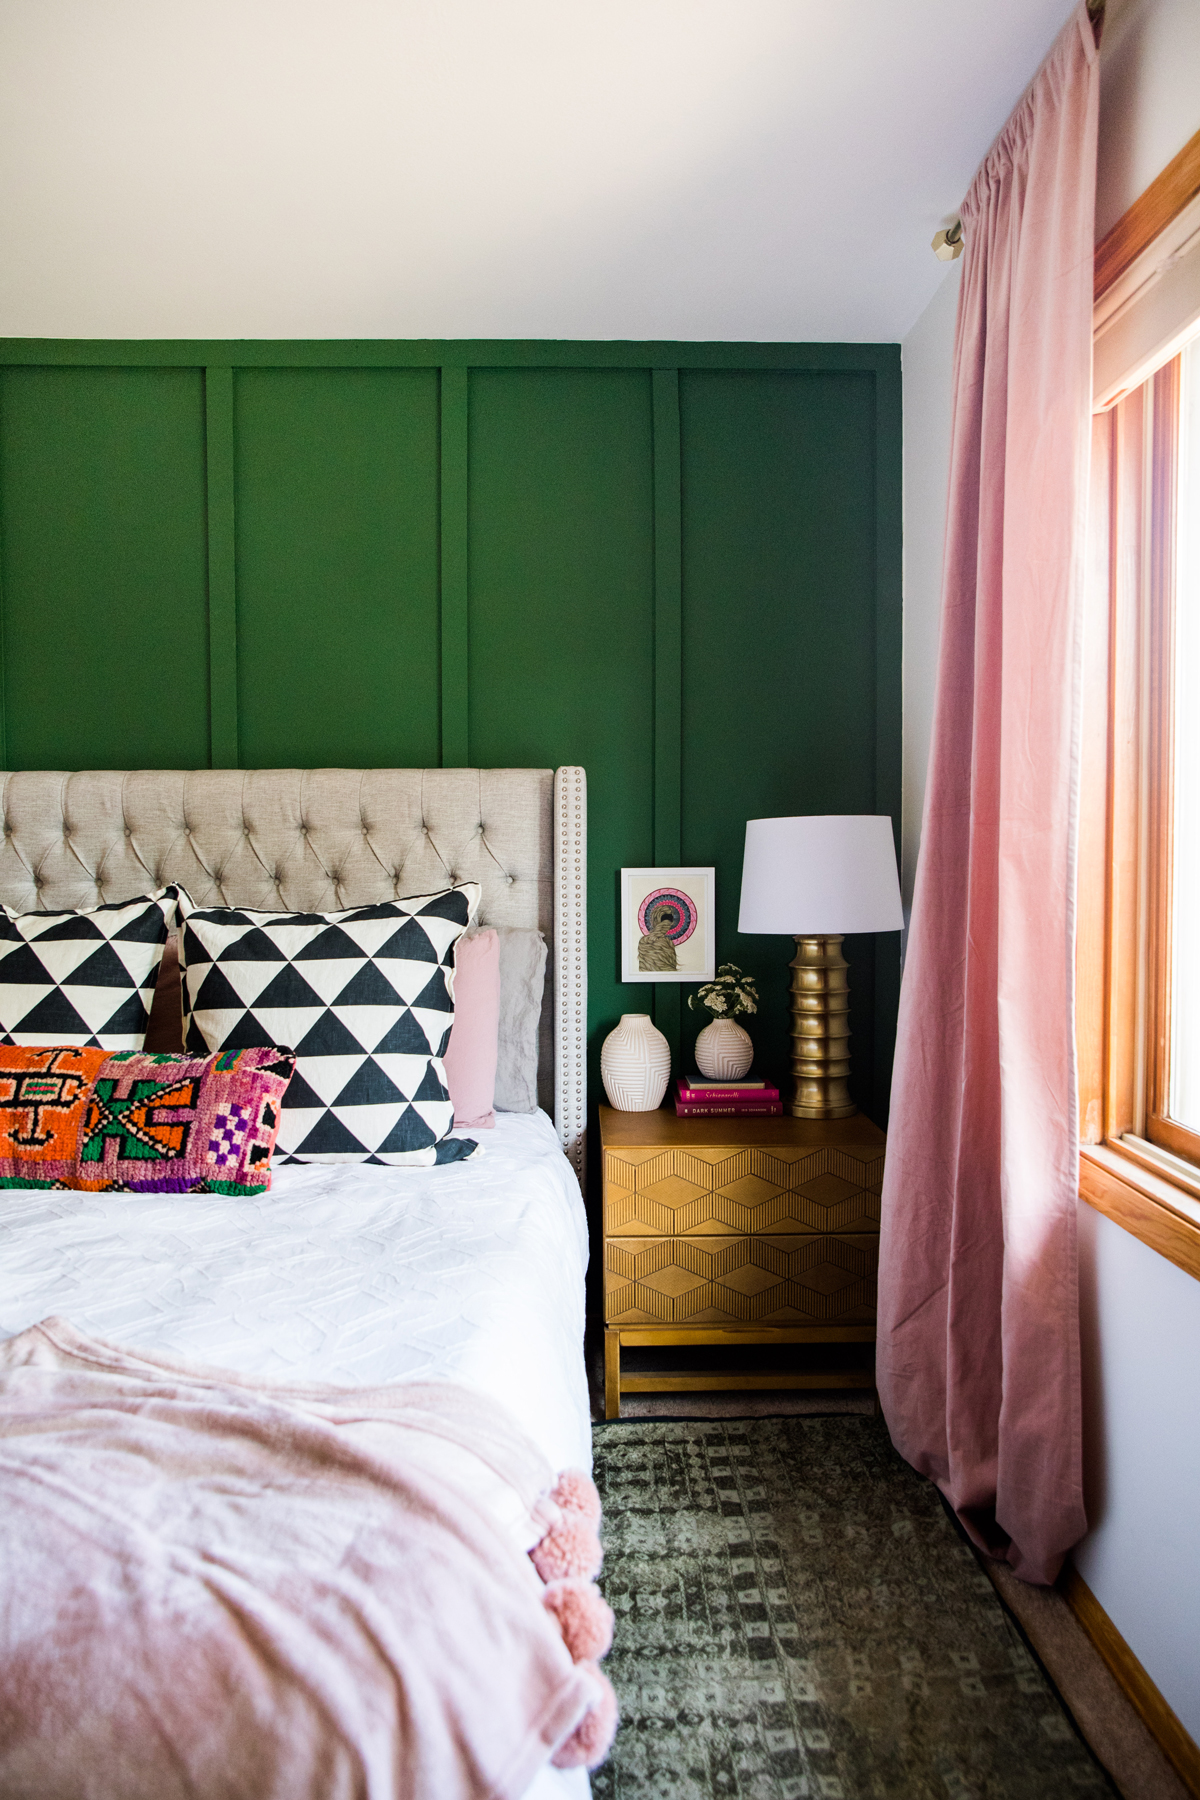
Pretty impressive, right?! If your home lacks architectural details, this is an easy way you can add visual impact and dimension to any wall. Let’s get started! You can choose to add molding to all four walls, as seen in the living room above, or one accent wall, as seen in the bedroom below.
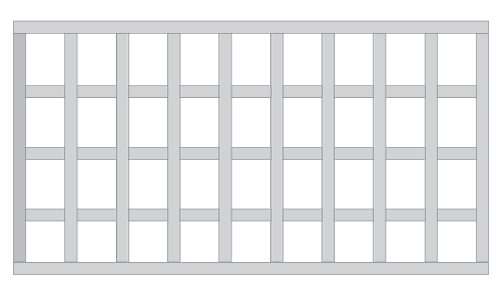
Determine Your Pattern
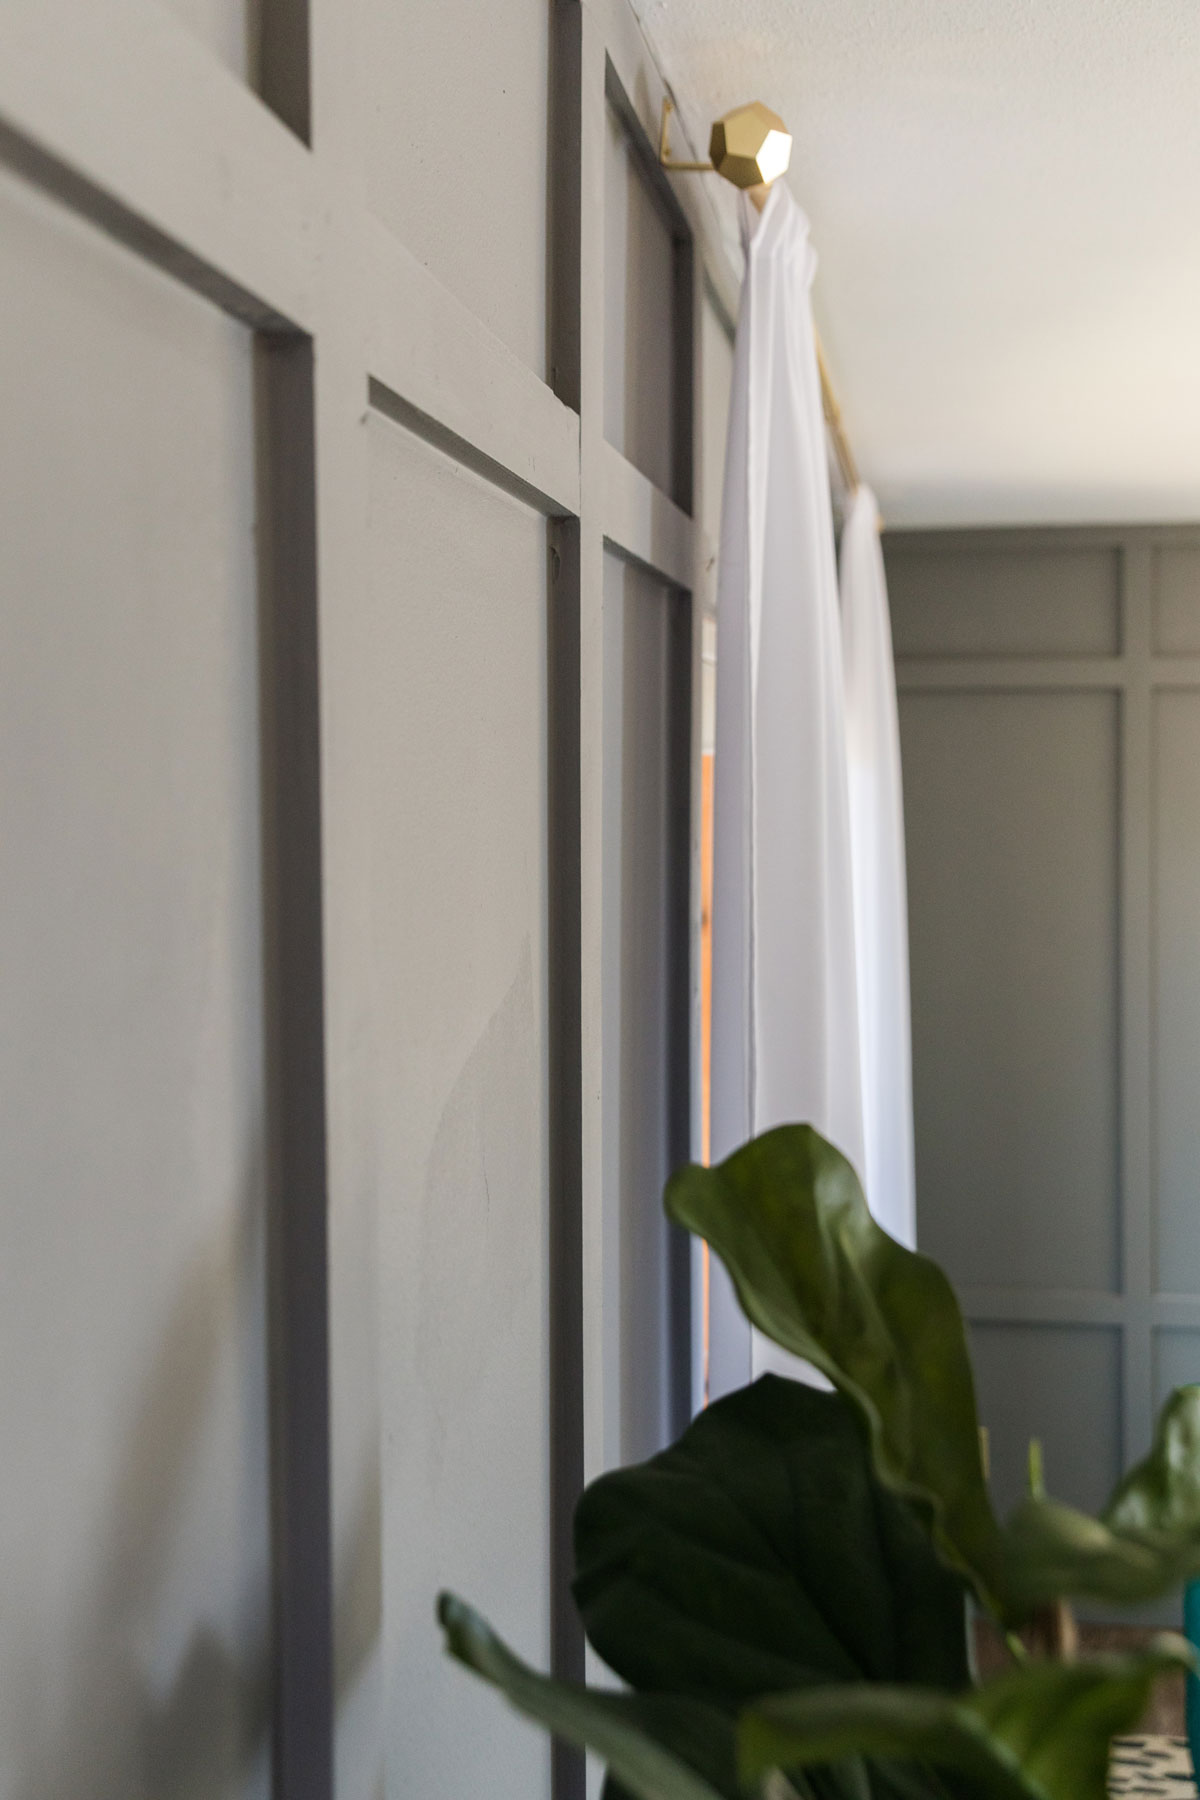
Once you’ve decided how many walls you’d like to add moldings to, you’ll want to map out your pattern. In the bedroom, vertical boards run the entire width of the wall, with a horizontal board at the top and bottom to create a clean frame.
In the living room, in addition to the vertical boards, horizontal boards were added at the top and bottom of the window frames, resulting in a look that feels fresh and modern. The height of the windows determined where the horizontal boards would go. 
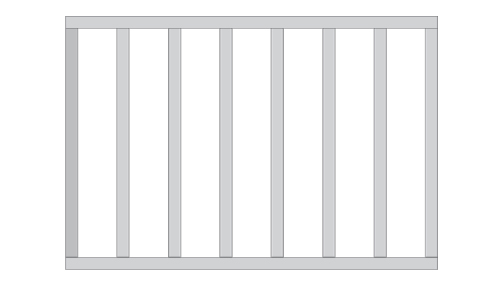
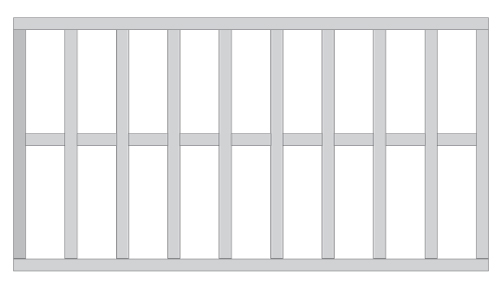
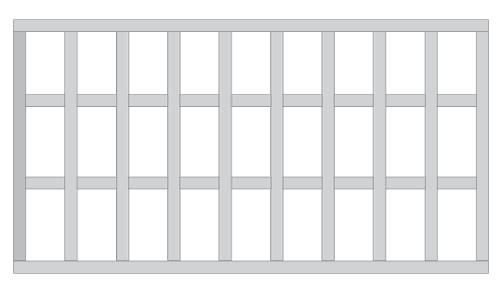
If you don’t have windows or doorways to align your boards to, you can choose to place your verticals at the halfway point, in thirds, or in quarters for a grid-like pattern.
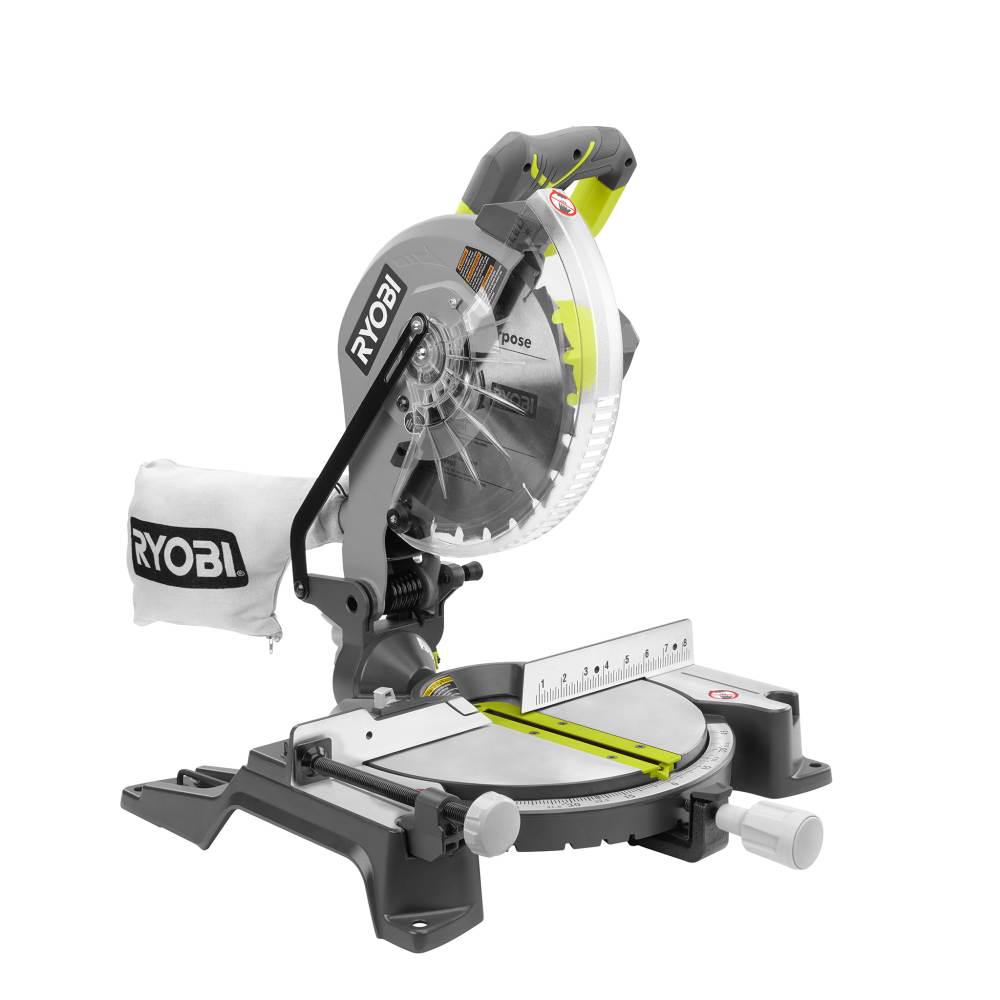
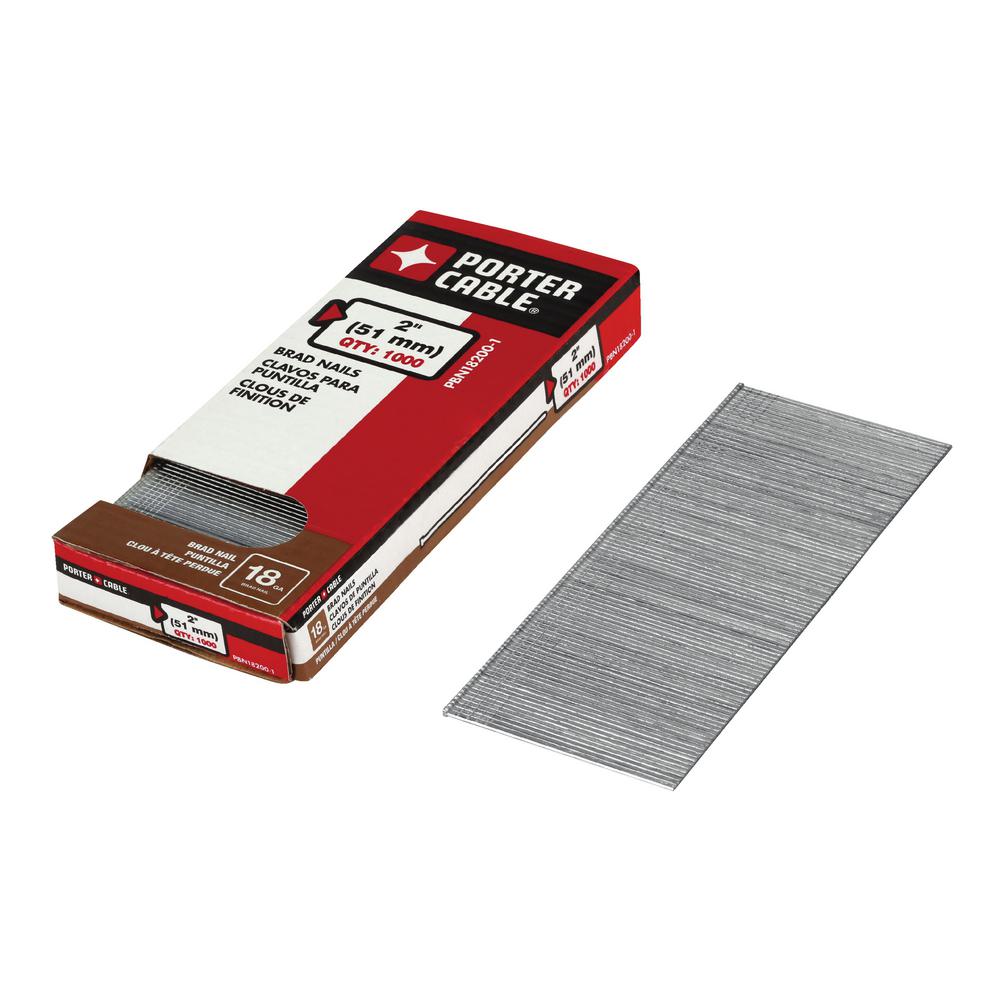
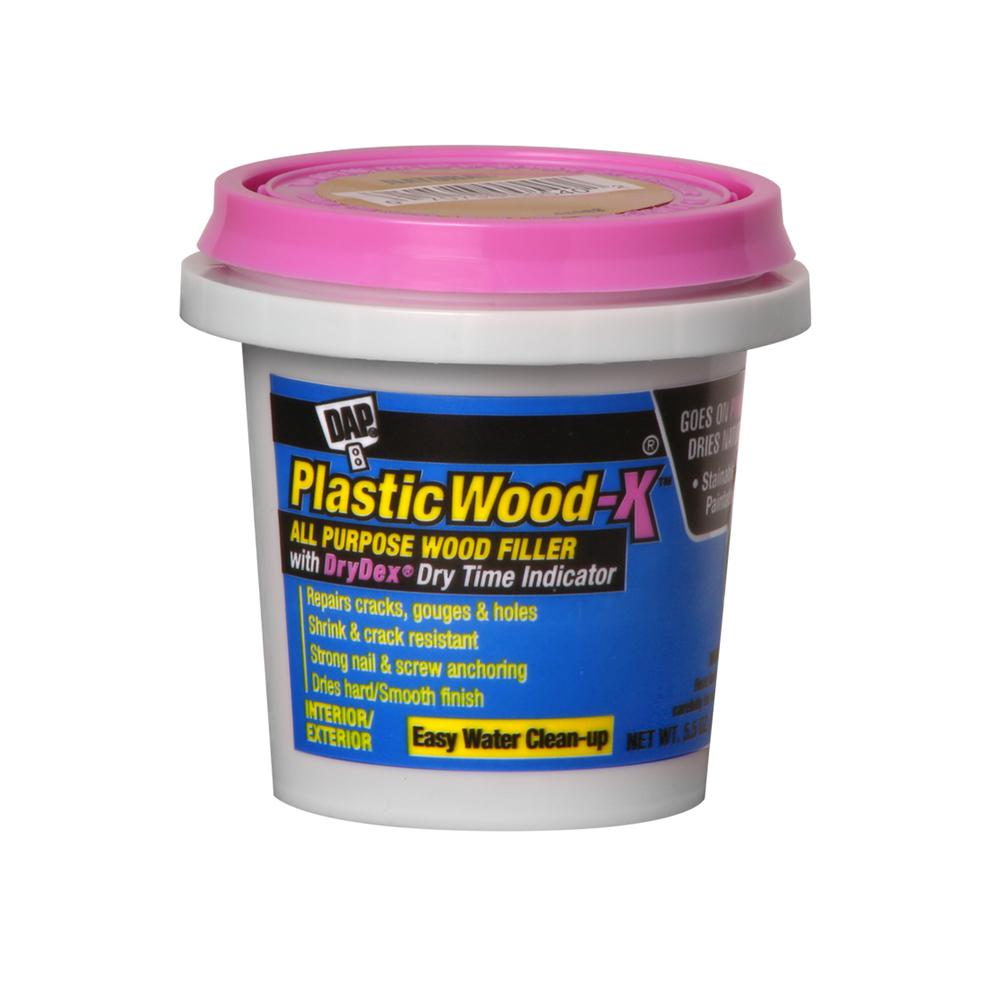
Gather Tools & Supplies
Common 1″ x 3″ x 8′ boards (actual 0.75″ x 2.5″ x 8′)
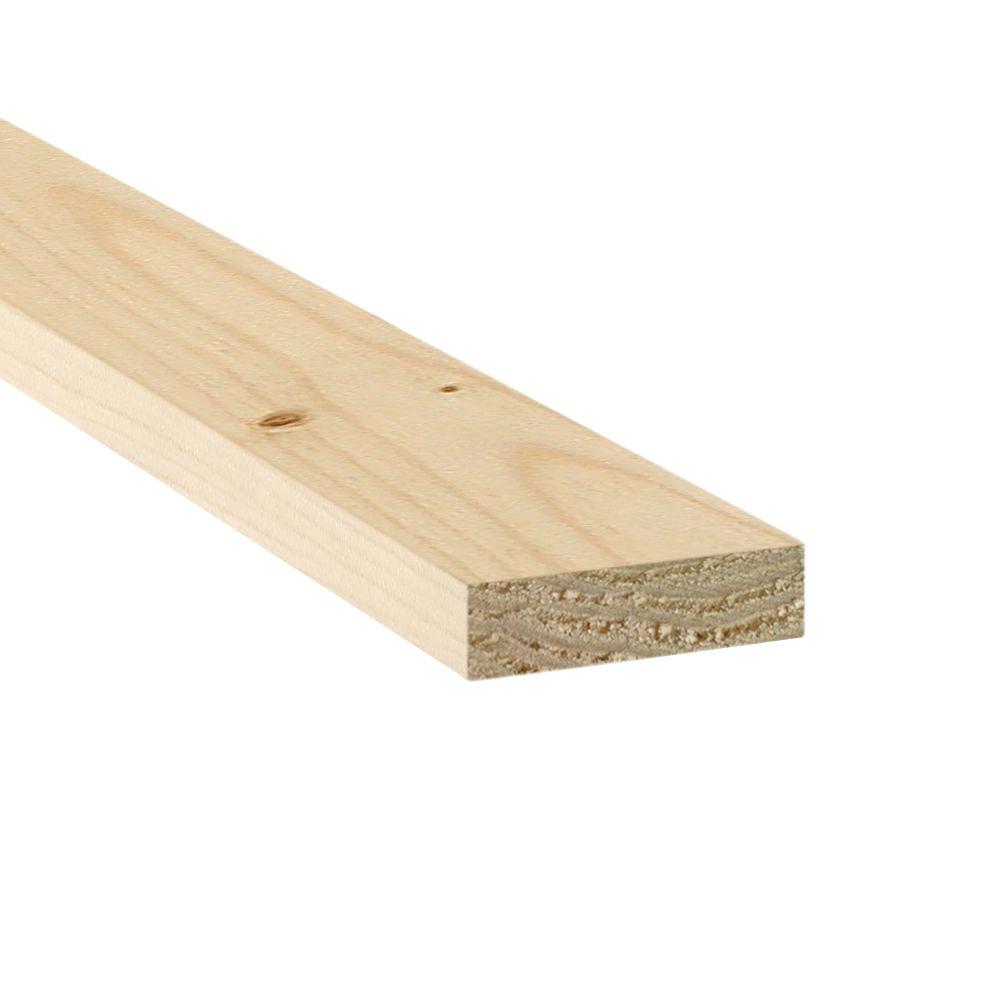
(Builder’s Tip: We recommend picking these out in person so that you can choose the straightest boards, as opposed to getting them delivered, where someone else is gathering them without paying close attention.)

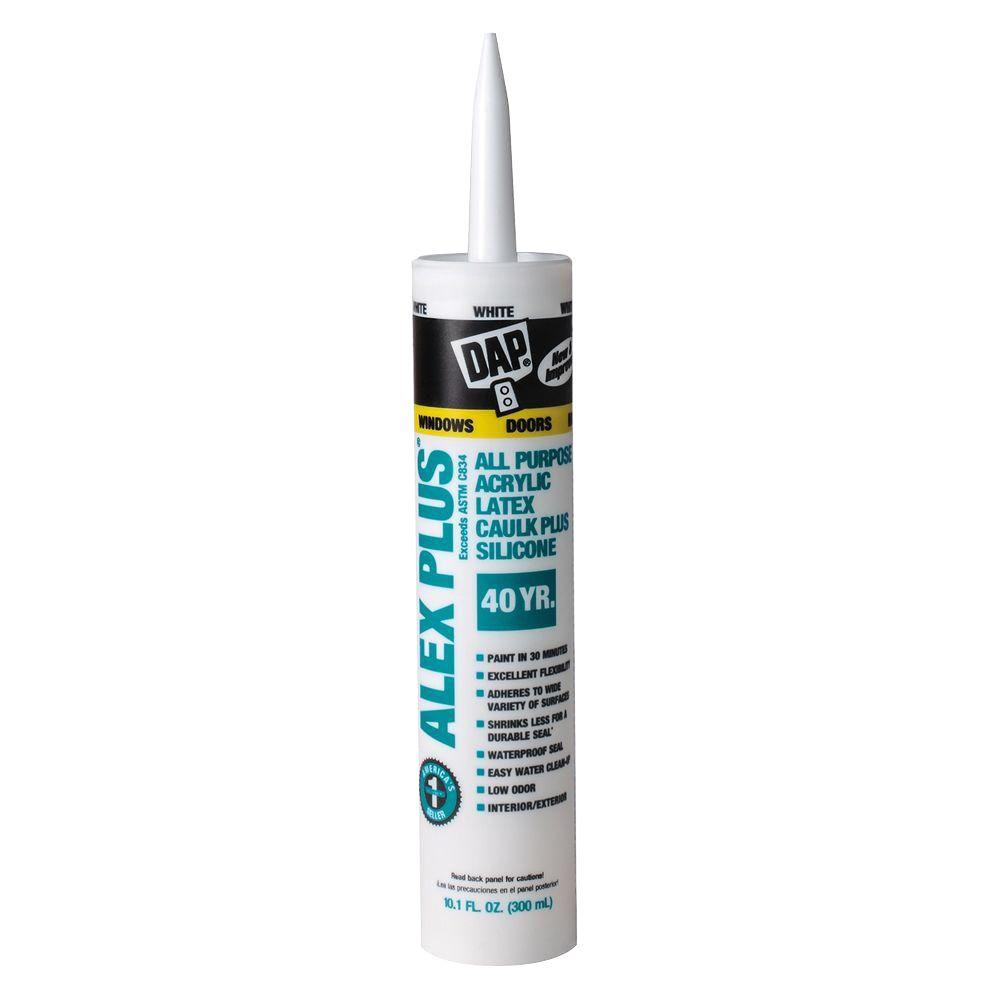
Caulking Gun (An electric caulking gun?! Amazing! We haven’t actually used this yet, but are eager to try it! Have you?!)


Cut & Install
Using a tape measure and your miter saw, you’ll cut the boards as you go. To lessen the number of cuts you’ll have to make, start with your longer runs first—begin with the top horizontal piece at the ceiling, then the lower piece at the floor. Use your finishing nails and brad nailer to attach to the wall. Get your seams as close together as possible, but don’t stress about making them perfect, as you will be filling and caulking after you’ve gotten all the boards up.
Next, install your vertical boards, butting them up against the top and bottom boards. Because no house is perfectly square, be sure to re-measure frequently as the length of the boards needed may vary.
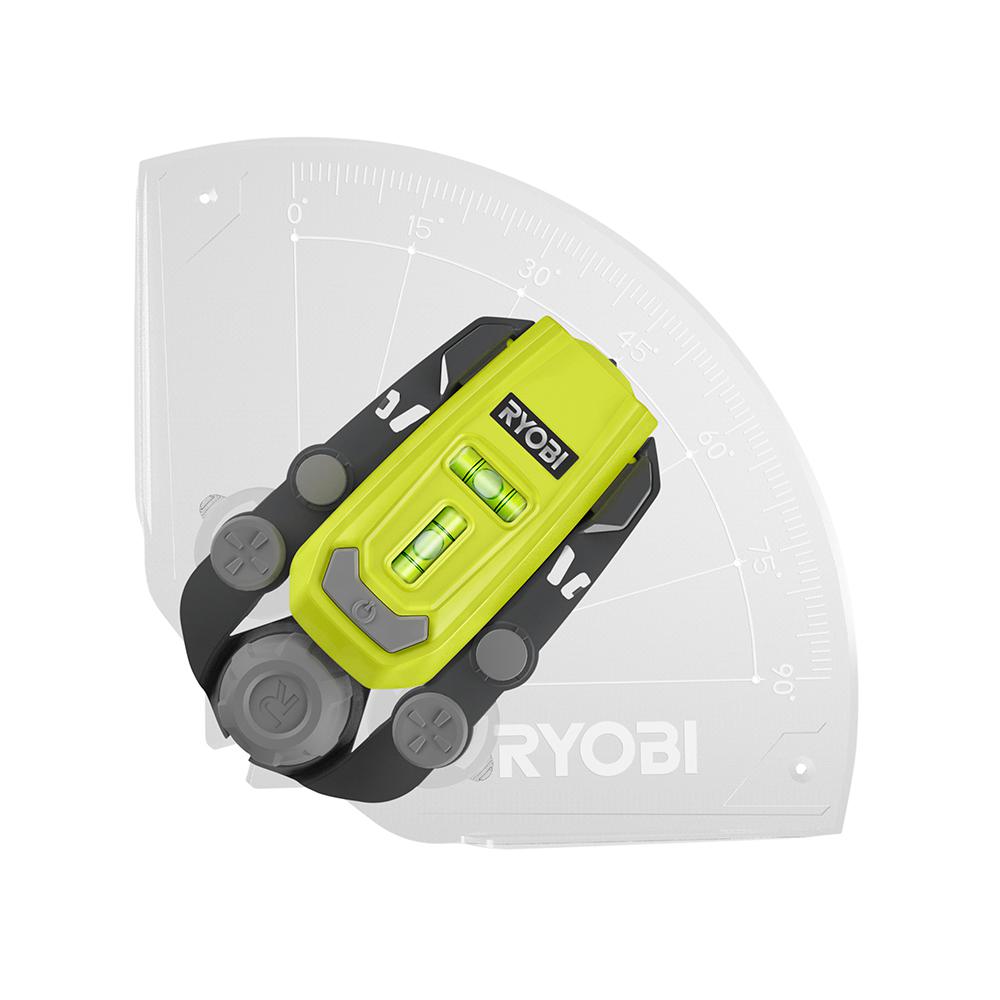
Finally, install the remaining horizontal boards in your desired pattern. Be sure to use your laser level to ensure accuracy.
Once you’ve attached all the boards to the wall, use wood filler on each and every nail hole. Yes, this is time consuming, but totally worth it! Use caulk on all edges to create a near perfect finish.
Now choose a rich paint color to call attention to your hard work! Snap a pick and show us your new walls! Be sure to tag us and use the hashtag #SOnesty!
We shared this story with you in our Fall/Winter 2019 issue of NEST Magazine. To view the full issue, click here.